        |
|
CUSTOM ROCK RAILS
Having rock rails are vital in minimizing damage to the body, and for a vehicle that will be driven on and off the road they look better than dents and scrapes. Plus, they may keep you from rolling over some time. Flipping through a catalog will let you know real quickly that rock rails aren’t cheap. They are, however, easy to make. All you need is some angle iron, bolts and backing plate. I also used some Liquid Nails Acrylic Latex Caulk to seal behind an on top of the rails. I painted it with some Rust-Oleum so I can easily hide trail rash. During the construction, I made a mistake on the driver’s side. I drilled the holes in the rails about an inch too low. When I put the rail on the side and drilled my first hole in the tub, the hole was right on the seam for the bottom and side of the tub. Luckily it was only one hole in the body, but it was 4 holes in the 5/16” rail that had to be filled and new holes drilled. Live and learn. The thickness of the rails you want depends on the abuse they will see. I went for 5/16” thick steel. I will never damage these things.
A lot of dirt gets trapped behind the flares. |
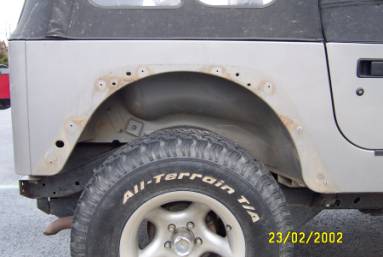
You have to take out the inner fender lining. |
There are alot of screws holding those things on. |
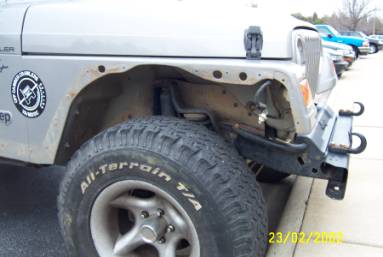
Got to hide that previous damage. |
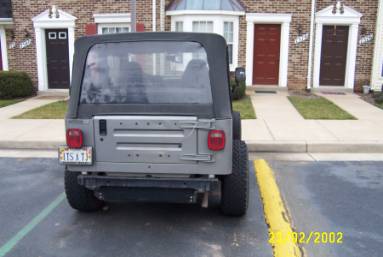
Looks weird without any flares. |
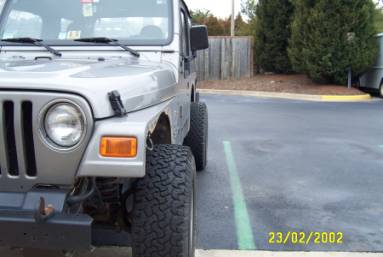
Tires stick out quiet a bit. |
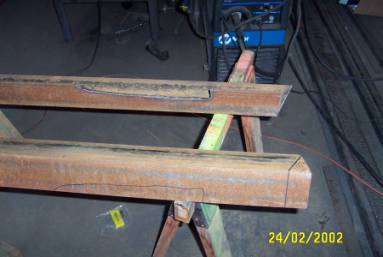
One side done, one side marked for cutting. |
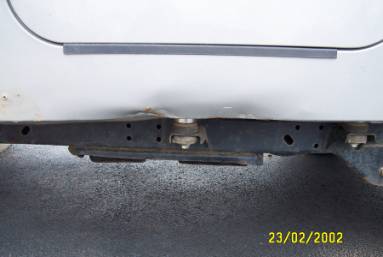
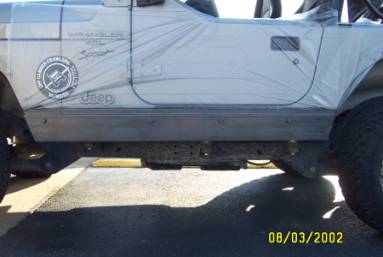
You need to cut out a piece of the bottom to make room for the tub support channel. |
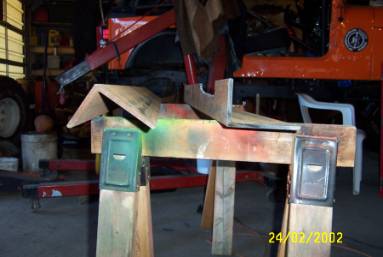
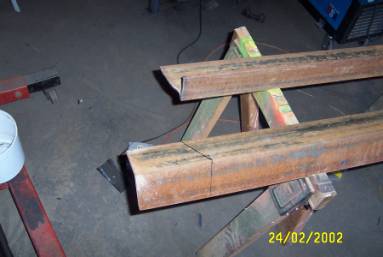
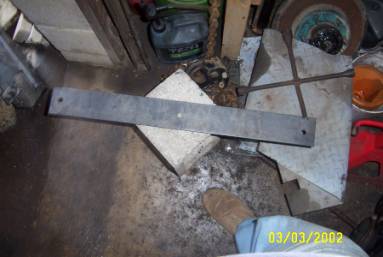
These are 3”x5”x5/16”. |
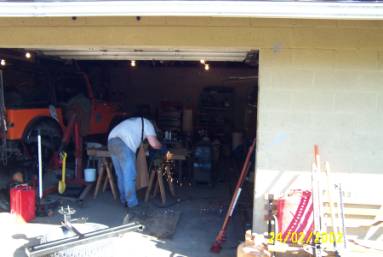
Jim going to work with the plasma cutter. |
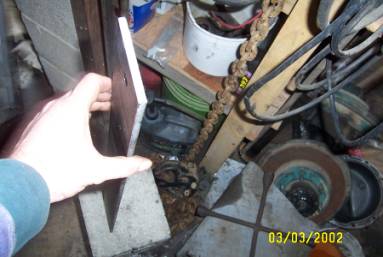
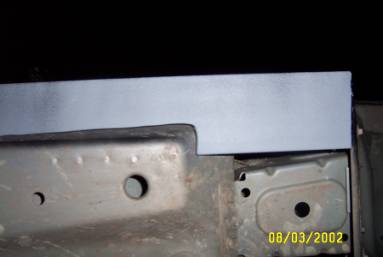
I had to drill 4 holes in the tub. |
First thing you want to do is figure out where the holes should be. There will be three under the door and one on the front quarter panel. Mark the rails and drill the holes. A drill press was invented for this purpose. The easiest way to make sure all the holes line up is to drill the holes in the rail and use a Hi-Lift jack to hold the rail on the tub, and then just drill through the holes in the rail, with a cordless drill, through the tub. After the holes are in the tub, place the backing plate in position and clamp it in place. Then mark where the holes in the backing plate go. After the plate is marked, remove it and use the drill press again. Everything should line up perfectly. |
For the inside, I used a 3”x2’4” piece of plate |
It’s 1/4" thick |

After the rail is primed against rust, position it and apply some caulk. |
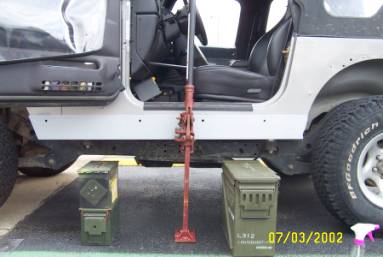
Use a jack to hold it in position so the bolts and back plates can be installed. |
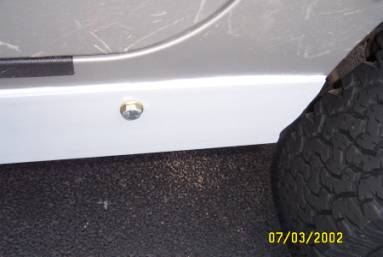
After bolting, seal the top and sides with caulk. |
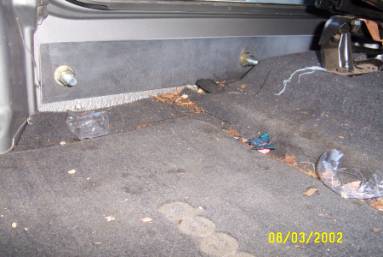
Here is a shot of the inside. |
All attached and sealed. Now, let it dry over-night. |
Here is a shot of the cut-out under the tub. |
Protect your paint from over spray. |
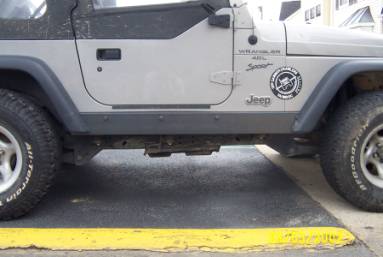
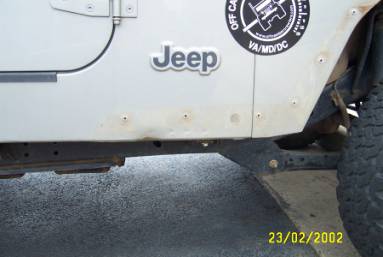
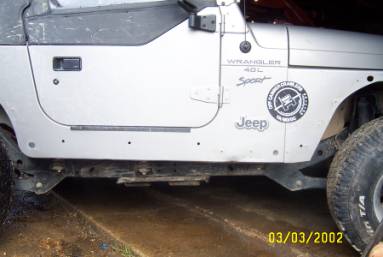
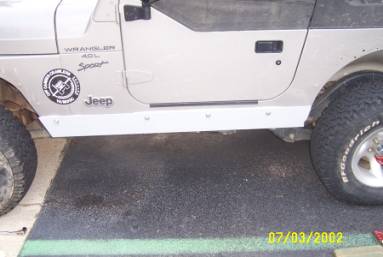
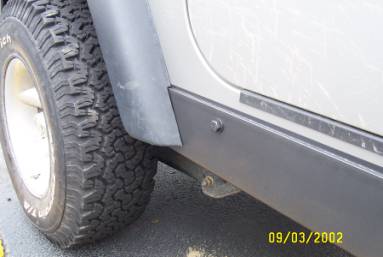
The finished product. |
Trim the fender flares around the rails. |
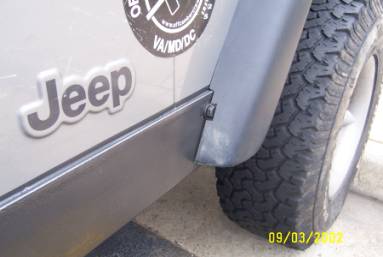
I think it looks Great! |