        |
|
WELD IN FULL CAGE
There was a Group buy on Jeeps Unlimited for full weld in roll cages from Tennessee Off Road. The price was more than half off and there was free shipping to freight addresses. We in OCC have several members with freight addresses at work, and they were more than willing to let us use them for free shipping.
My cage consisted of:
| 2 – Main bars |
2 – Grab handles |

Cage as delivered. |
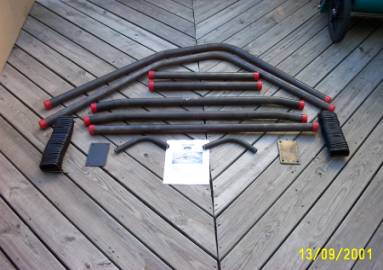
Cage unwrapped. |
There was a Wrench-A-Thon at Gary Heinz’s house 29 Sep 01. I was expecting to be able to install the cage, or at lease get it tack welded into place. But like most of my plans, it didn’t quite work out that way. I got there late and had 4 people ahead of me. I stayed as late as I could, but ended up leaving with out so much as a roll bar pad removed. Jackie (another TJ owner) had her whole Jeep prepped and ready for the install. Her two main bars were not bent enough for a proper fit. In an effort to bend the tube a bit, they put the bar between two stacks of wood and drove Gary’s front wheel of his V-8 powered ZJ (Grand Cherokee) on the bar. It didn’t budge at all. That means that it won’t collapse when in use, but it will require professional installation. For that job, I went to Jim Rishel again. We spent 6 hours installing the roll cage. The quality control at Tennessee Off Road leaves something to be desired. There was a 1/4" difference between the two center spreader bars. There was also a 1/2" difference between the windshield bar and the rear spreader bar. With a little work, we got it to fit. We left off the dash bar, because if it was installed, it would have either a) blocked access to the bolts on top of the dash, or b) obstructed vision out the front window. As soon as it got nice out here, I took the top off and painted it Rustolium Hammerite Silver. Below are some after pictures.
A shot from inside. There is very little chance I will hit my head on the bars with my head |
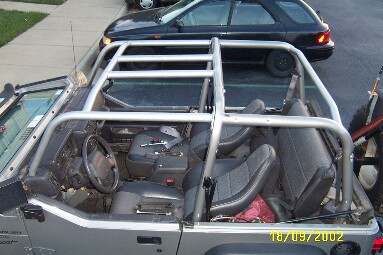
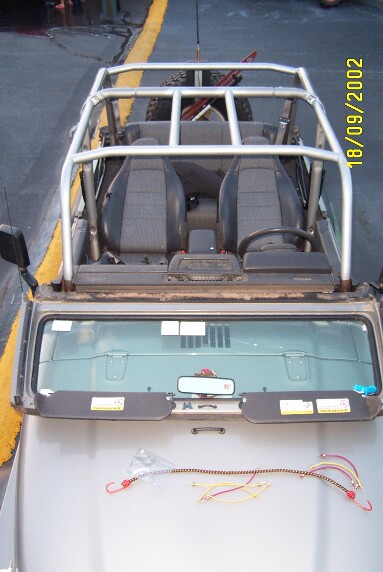
Here is a shot of the whole cage installed and painted. It's allot safer than stock. |
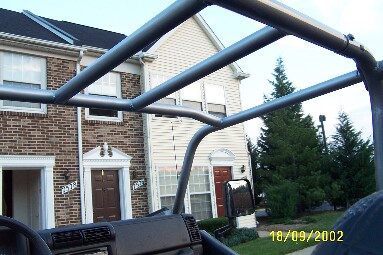
Here's a front shot of the cage after painting. I covered most of the exposed bars with the original pads. |
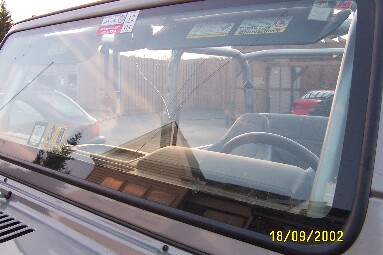
Here is a word to the wise. When you are stretching to paint the front of the cross bar, DO NOT lean on the windshield. It can't hold much weight before cracking. |
The only thing I have to do the roll bar, is cover the rest of it with some 1/2" foam and the some gray, fade resistant fabric. I will hold it on with a bunch of 12" Black reusable cable wraps. When all is finished, I will take some more pictures.